Weekly Photo Challenge: Good Morning!

I have been obsessively starting my days for the last few years with coffee.  I had quit all caffeine except that which was found in chocolate for many years because I didn’t need it.  I had always loved a good cup of coffee and when my son moved back home for a short time, he got me drinking it again.

Created my own coffee T-shirt a few months ago by transferring one of my coffee photos with the simple message “Coffee.” I printed the word coffee in Vladimir script in reverse so I could go over it with a transfer pen and iron on. I then went over the lettering with fabric markers.

GoodMorningCoffeeShirt 009

Ghost in Garden


GhostinGardenComplete2013Septmisc-009

Still not able to upload properly, but with my previous programming and web design training I was able to manually program what I needed to get the media uploaded! So proud of myself, but a real pain when I should be able to click on a button!

As you can see, I did some painting and added some stenciling and a veil to finish an already busy collage. Did not want to overdo it. Check out my March 11, 2013 post under Ghost in Garden Collage in Progress to compare.

Ghost in Garden Collage in Progress

This slideshow requires JavaScript.

I still have much to do and will update after I feel there is something more to show.  I like to use photo transfers from my inkjet printer on all kinds of paper and cloth.  Computer software is great for making all kinds of special effects to customize your mixed media art.  I usually make a transfer off of construction paper or vellum due to the thickness of the paper.  I will just affix any pictures printed onto tracing paper with the paper, inkside down.  You have to be very careful when you are working with inkjet photos instead of laserjet, because they smear worse.  I always apply the medium to the canvas or the board and then affix the picture ink side down carefully in place so you don’t have to move it.  Then you are free to add additional medium to the top and edges to firm in place without any fear it will smear.

I know that I will be adding additional paint and perhaps stamping techniques, maybe even covering up some of the images that are already on the canvas.  I will sometimes work something over so much that it is no longer recognizable from the first creation.  Like any artist, I just keep working until I feel it is complete.  I do plan on adding more mixed media hardware and fabric as well.  

More to come.

Waiting 4 Spring!

Taking A Bad Sketch to a Whole New Level

I still have the old Photo Draw 2000 software from Microsoft, and love it.  I have since purchased Photoshop Elements, but have yet to use it.

Try something different or creative with any of you art or photos.  My favorite effect is to use the “cut out” by color, then change the search mode from global to local and make sure the “put in new picture” is checked.  Do this effect in various areas of the selected picture and when finished, select to fill from the format tab.  There I selected the gradient fill for the colors but you can replace it with a photo, texture or all one color.  It will only fill in the areas of the sketch that you clicked to cut out, which is the effect I wished to achieve.  I then used “Designer Effects” from the Effects tab to enhance the color and contrast to my taste.  I finished by layering the enhanced picture over a dark purple background color that had to be created from the default picture after the picture setup was changed from landscape to portrait.

Anyone else out there fool around with their photos or art like this?

Weekly Photo Challenge: My 2012 in Pictures

Po’ Girl’s Christmas Ideas

You don’t have to purchase special Christmas decor for the mantle or buffet. I usually try to set up a centerpiece of some kind so I can place some of the smaller gifts around it in a decorative fashion. Looks all Christmassy until the gifts are given out, then who cares?  This is great to do if you don’t want to go to the trouble, expense or have the room for a full size tree.

Upcycled Jeans and Other Sewing Projects

Decided to use the leftover top of my old jeans that were left over from my garden jean cap that I previously made and posted the instructions on the instructables.com web site.

I was able to make a purse and a pillow.  I posted the instructions on how these were made on the Instructables web site if you wish further information on how to make these items.  Please feel free to play with any of the ideas on this site and be as creative as you wish.

I am also posting the pictures of an apron that I enhanced with leftover fabric that was purchased and a craft store on clearance for $1.75.  I was also able to make a matching wine sack and plan on using it for a gift after adding a bottle of wine from a local winery.


This slideshow requires JavaScript.

Rose Transparency

Po’ Girl Project Updates

Just wanted to post some of my recent projects.  I hope to have an etsy shop very soon and have included various states of some of my projects.

The first one is a slide show of a pot holders sewing project that matches an apron previously made.

This slideshow requires JavaScript.

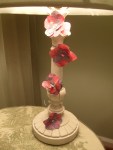
The last coat of acrylic paint in a cream color has finally covered the cottage cheese label on this plastic container I plan to use as a hanging lamp. (more to come on that project on instructables.com.)

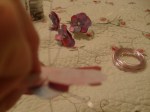
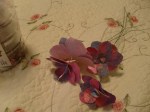
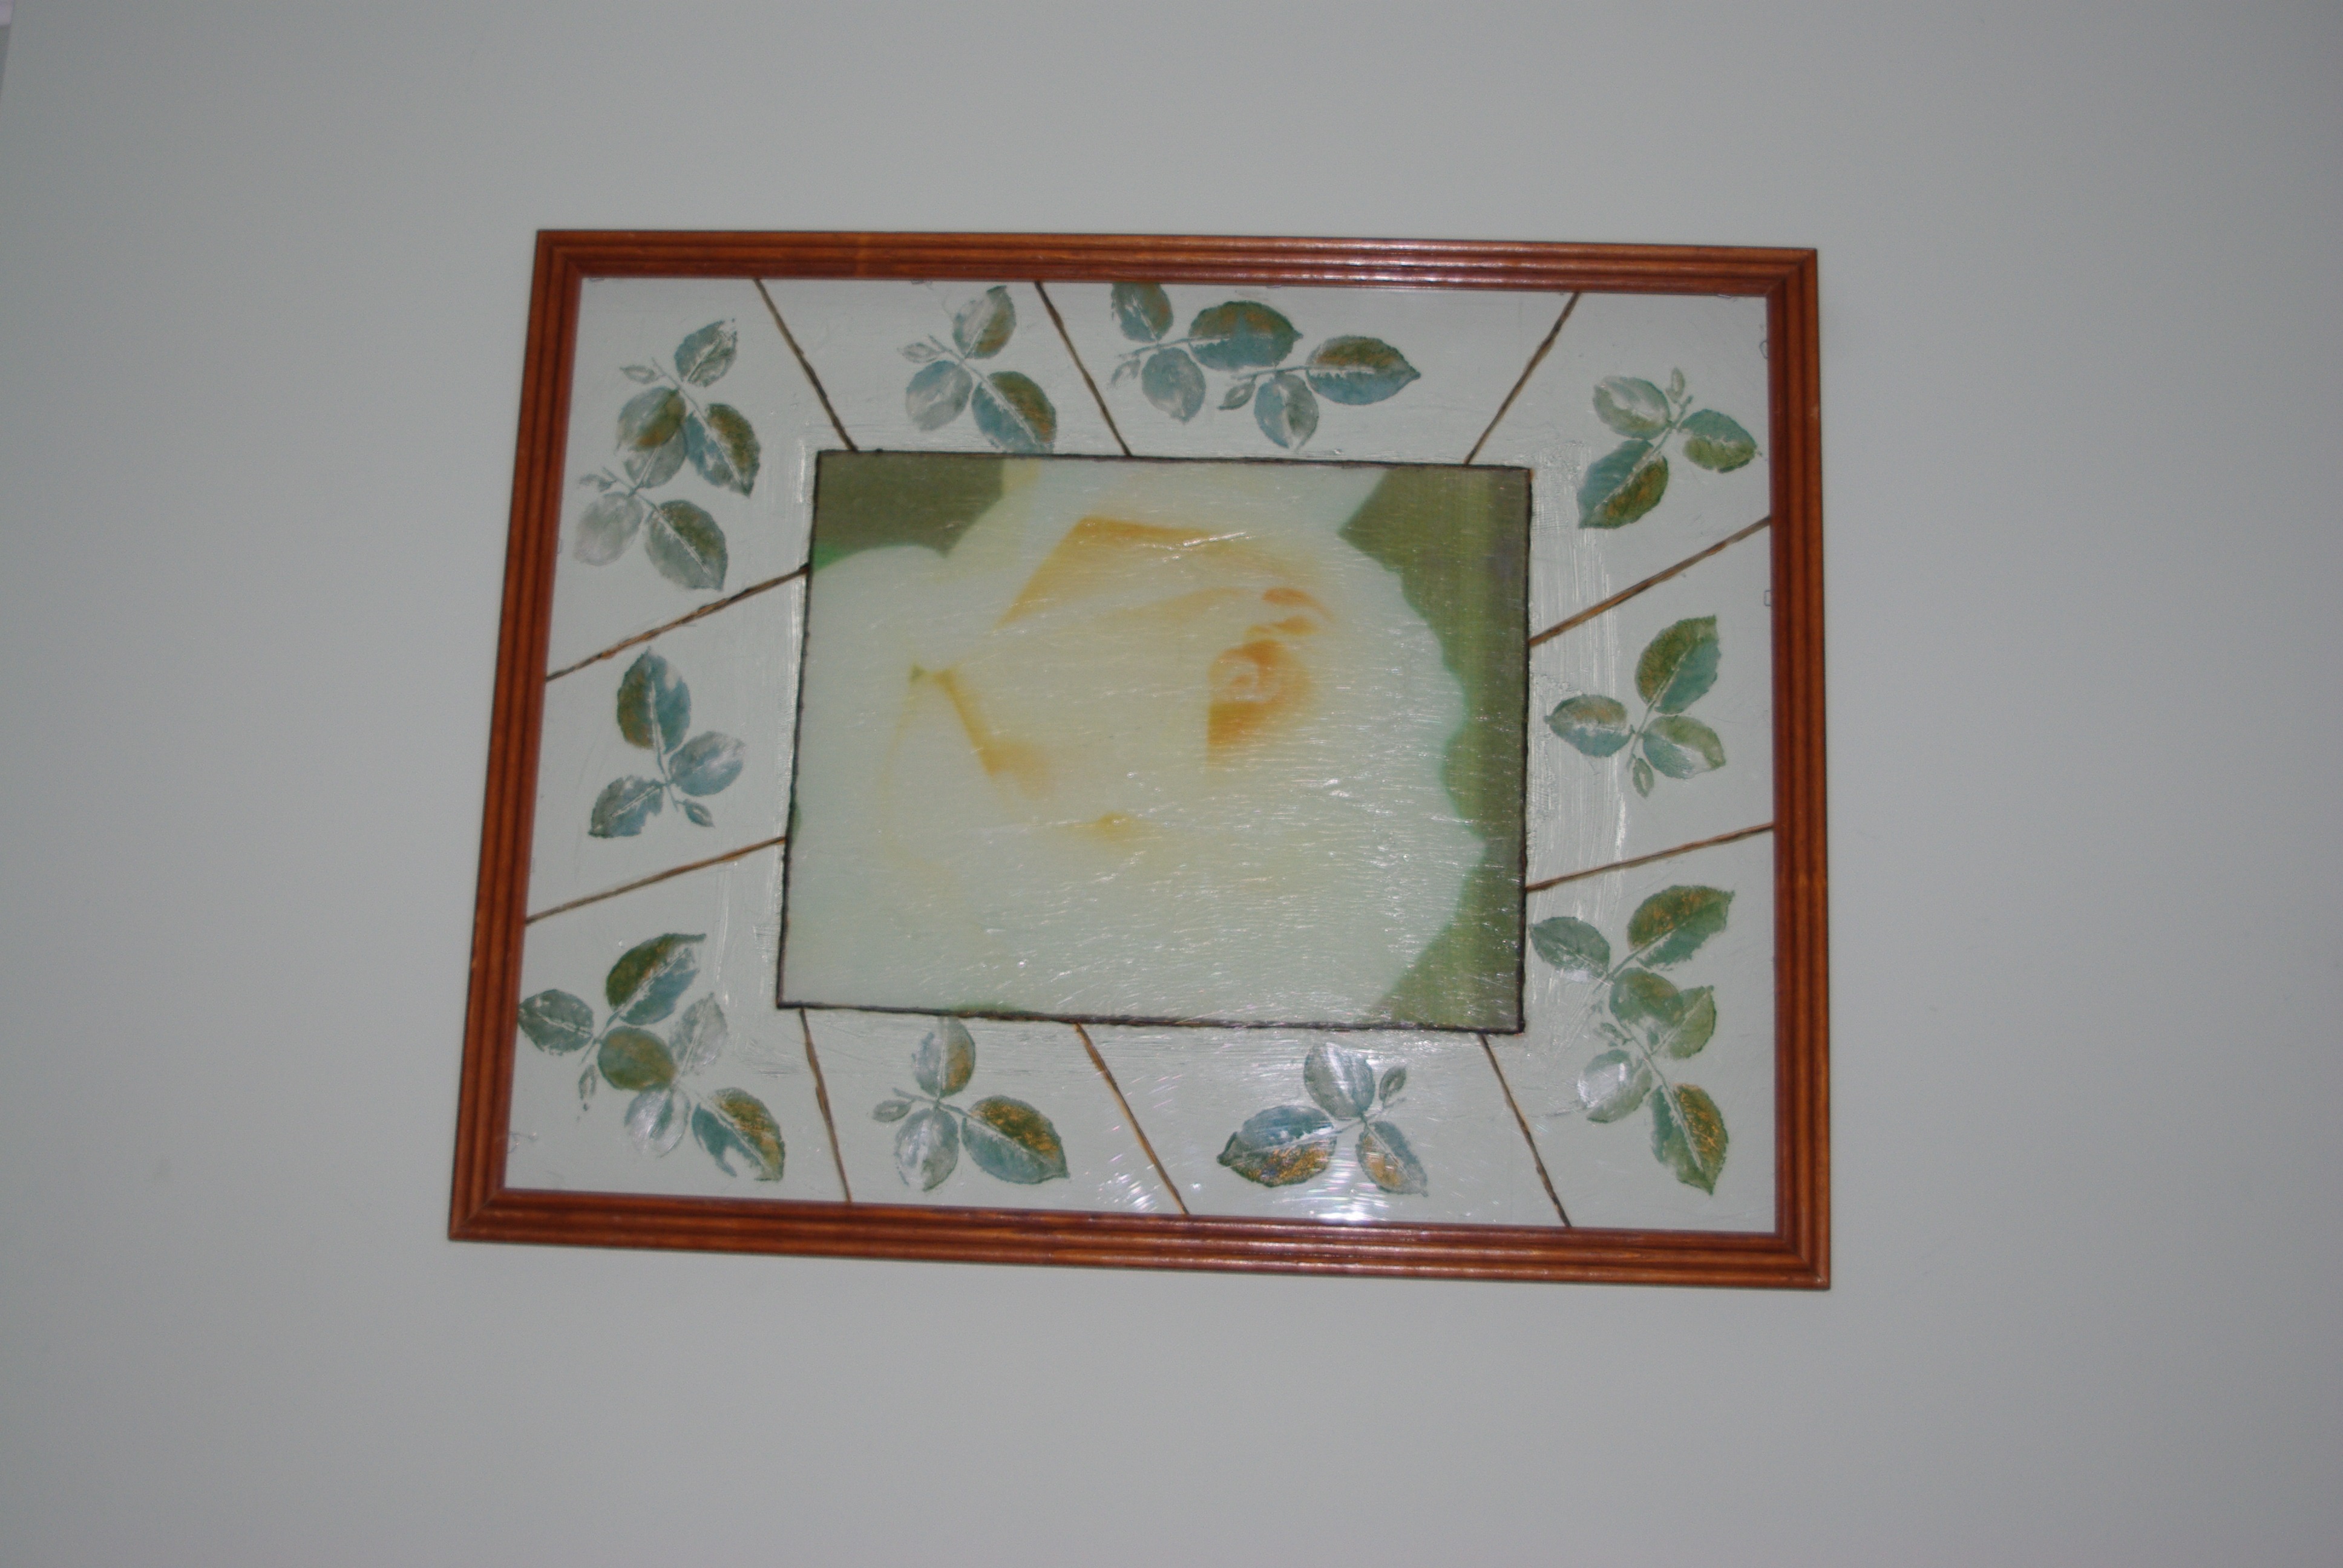
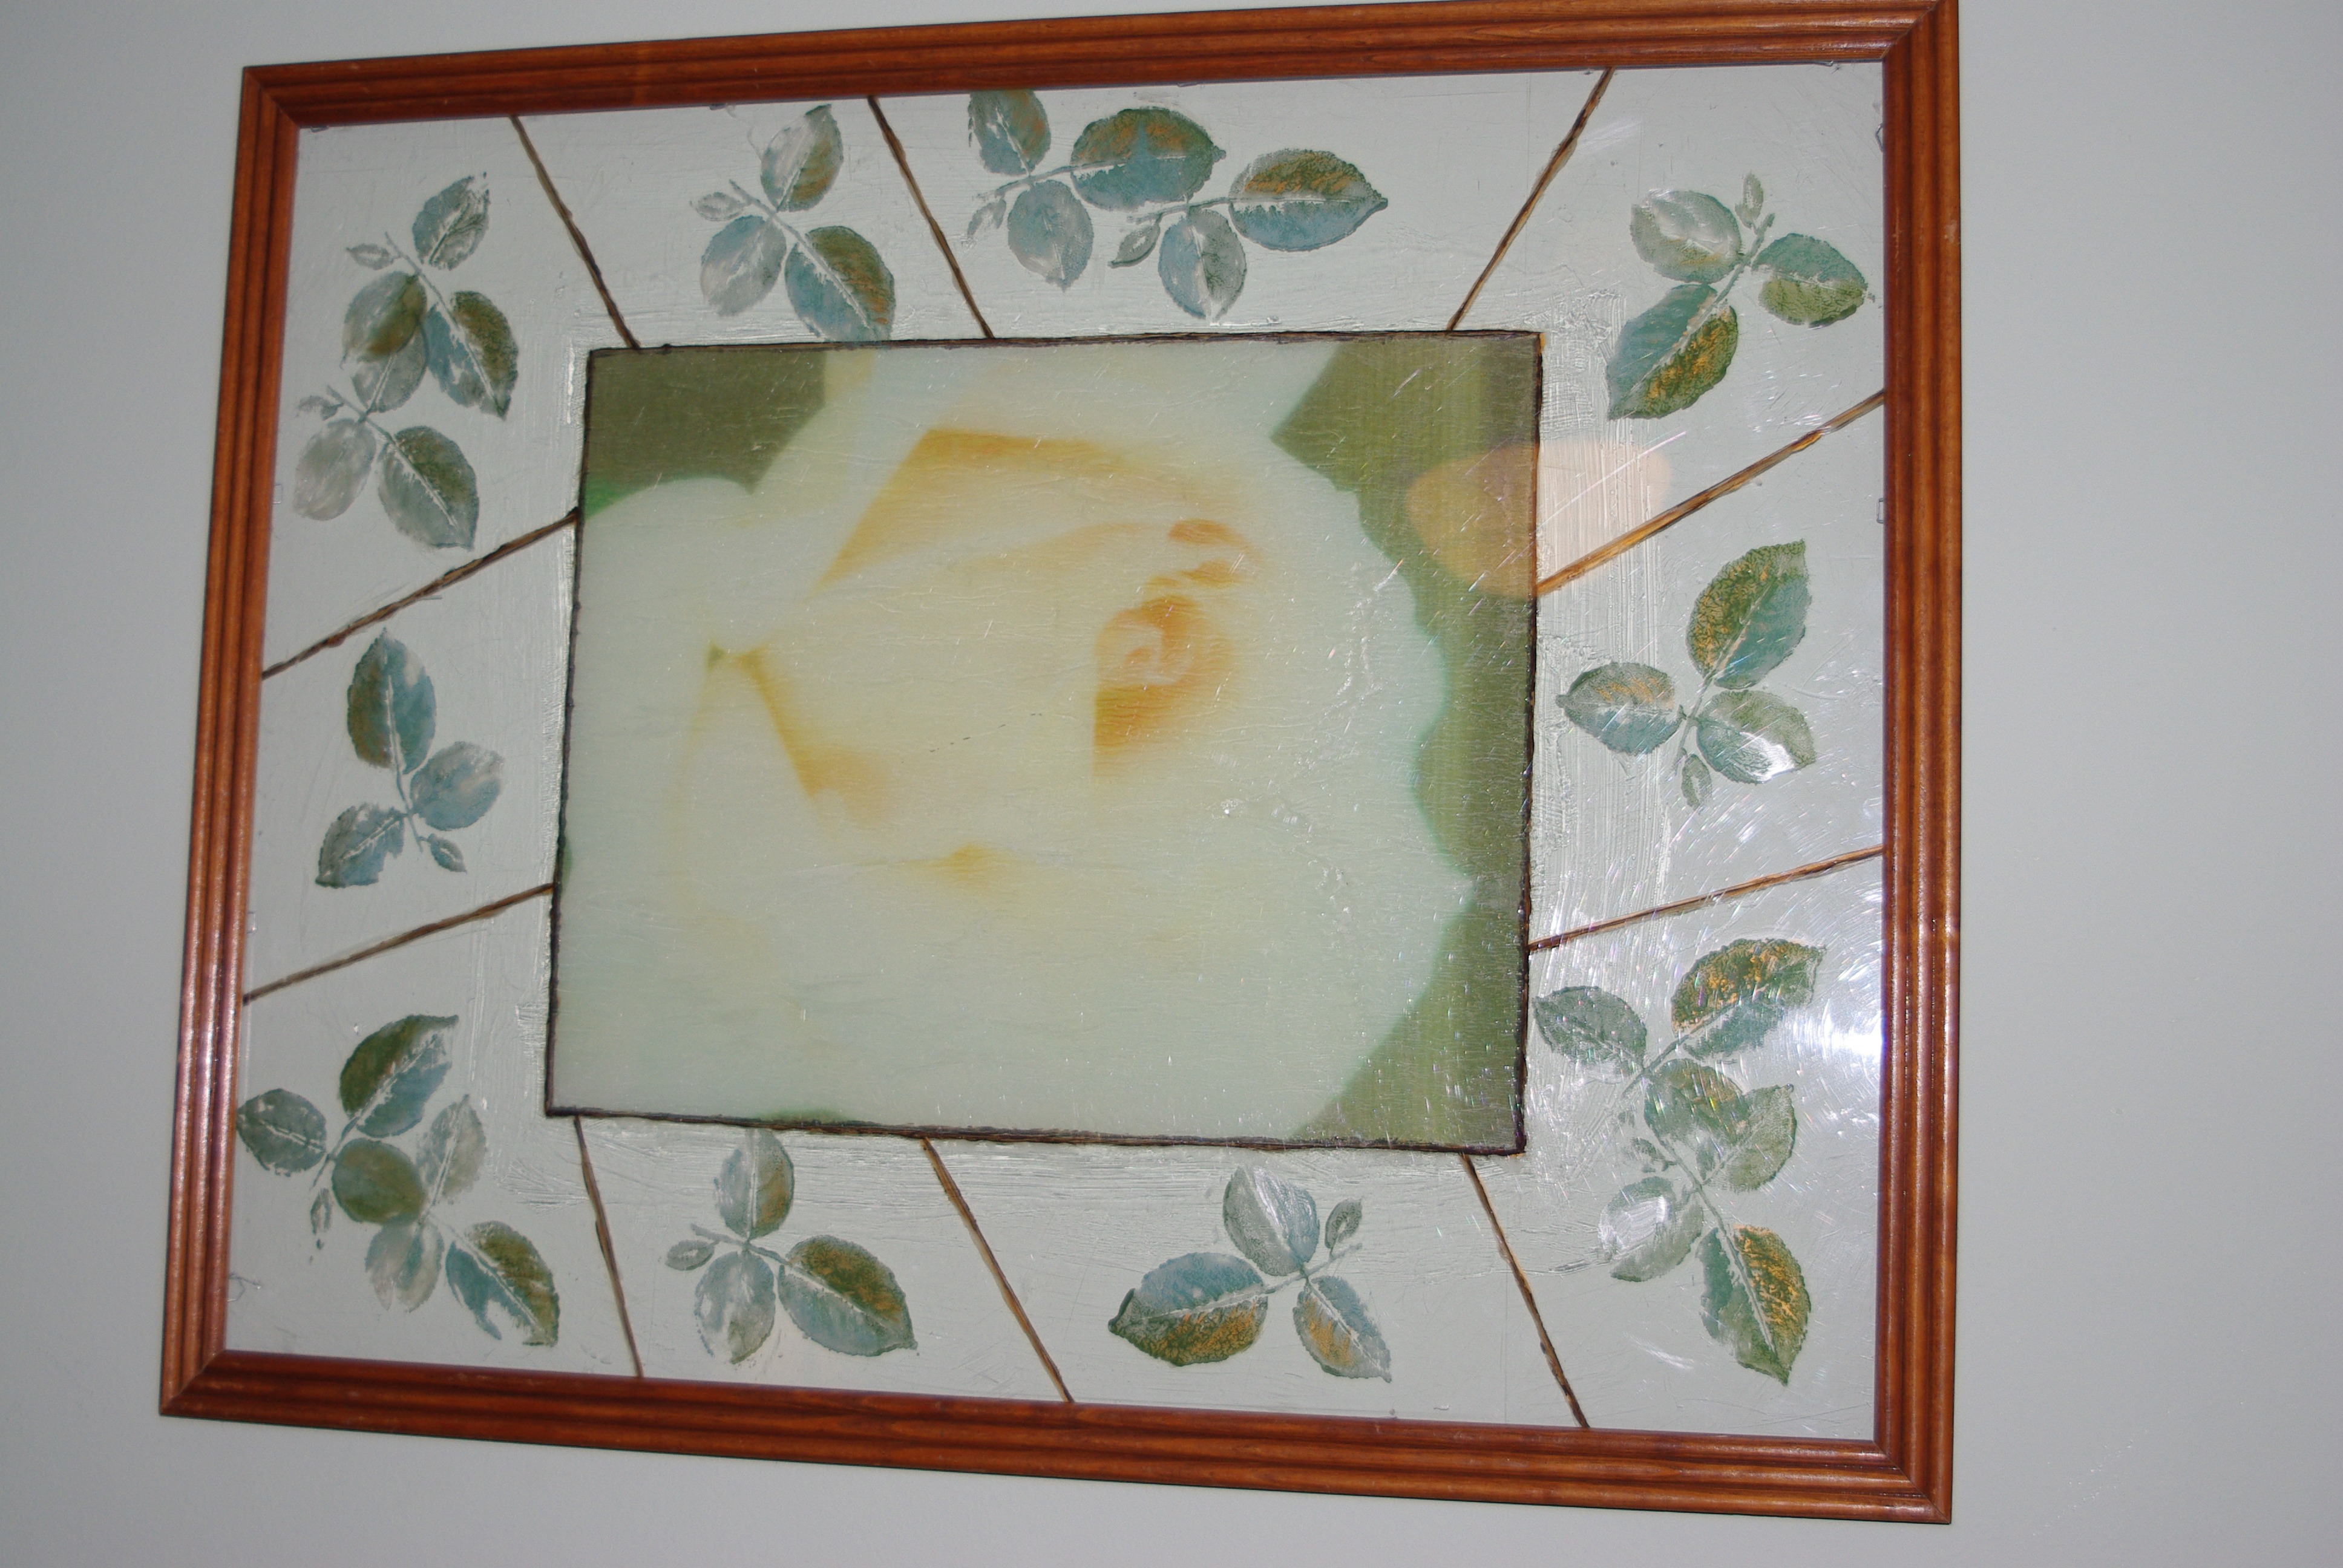
I used to only use transfer paper on my fabric, but this time just printed some of my photos on printer paper and adhered them to fabric and glass with acrylic matte medium so I can use them for natural jewelry pieces and embellishments using beads, eyelets, paint, threads, etc. I just like to play around and see where my imagination takes me sometimes.


I purchased some Crayola air dry clay in white to make odds & ends of pendents using molds and stamps to shape and alter for jewelry. I inserted wire to hang or attach. Update to come later after painting or decoupaging tissue to show how something so cheap and easy can look really good.


Just starting another instructable for a nightgown made from a Queen size bedsheet, flat. I tea stained the fabric first to give it a vintage look.


Decided to upcycle a thread-worn cream colored turtle neck sweater. Cut down the center to insert a zipper. I am in the process of sewing on strips of faux fur.