A Little of This & That

I am either closing up shop for a while or making some changes on the site for sure.

mug & bell some secret Santa left outside my apartment with candy at Christmas.

I’m working on various craft projects right now because I’m still downsizing, discarding and donating and came across supplies purchased years ago for whenever.  I’m not even sure why I purchased them at the time.

I found a small plastic globe this year at the dollar store and created a light by decoupaging some pressed flowers on it and inserting a light for another dollar.  Very lightweight and cute.

I had various wooden plaques and frames I’ve never used, found some plaster of Paris angels and cupids I was going to adhere to furniture at one time but changed my mind so I painted and decoupaged some of it.  This is the first time in a long time I have even felt like doing much of anything.

I painted 2 5 x 7 baseboards, 2 wooden plaques approximately 4 x 6 and a wooden cross with a gold based paint.  I purchased it many years ago and you can’t get this quality in hobby paints anymore.  You can get the wood pieces at various craft and hobby stores.  Not sure if the dollar store carries anything like this but you can always check.  I used some tissue paper to decoupage on each piece.

If you like to do various decoupage or paper art, it’s nice to shop various specialty gift shops for unique tissue designs such as the paper I used.  Most stores and Hallmark shops don’t carry very interesting patterns as a rule but always check when you shop.

Not sure what my original plans were for these plaster figurines, but I decided to paint them all gold as well to use in my projects. I had seen a unique furniture piece years ago with cupid figures and decoupage, but since I don’t have a piece of furniture in mind to use them on, I created these out of the pure boredom of being snowed and frozen inside for now. -45 wind chill and almost a foot of snow within a week. Yikes, then supposed to go up to 50 above in a couple of days. Madness!

I adhered a couple of the cupids on solid gold plaques and two others on the decoupaged plaques I planned on adhering on the tissue covered backing boards for contrast.  The tissue does have flecks of gold throughout making it a great choice.  I then adhered the larger angel which was a broken Christmas ornament that I had kept when the hanger at the head broke off.

Basically finished. Just not sure what I’m doing with them. The set of three can be used on a mantle or wall art in a grouping. The cross went on a painted plaque and the cupids on backer boards were just slid into matching painted frames.


So if I do continue blogging I will be changing the format and style depending on if I move and what I end up doing.  I will continue ONLY if I have something worth blogging about. Something creative, tips, ideas, something that is not just a time waster for all involved.
Thank you for following my blog all these years. God bless.

Daily Prompt: Patterns for Creative Living

When I think of patterns, I think of sewing right off the bat.  Some could think of a pattern of conduct or behavior, I think of it as something that repeats on wallpaper or on a piece of patterned cloth that you would cut out a pattern from.

A while back I worked for a major decorating company for a number of years.  The majority of the time I worked as a vendor representative with many companies from drapery and curtains to wallpaper and rugs and everything in between.  It was a very fulfilling and creative time in my life.  Unfortunately I chose to leave it for more money somewhere else.  A place where there were no patterns except for those evading their taxes.  There was a similar pattern in that respect.

Please see the short video I prepared to walk you through the way I created a flat panel from cotton muslin to hang on a cafe curtain in my tiny bathroom which previously had 2″ window blinds that stuck out when you opened them. I wanted to try something different so instead of just painting everything freehand on my panel, I found some colorful fish in my PhotoDraw clip gallery that I printed separately onto vellum/frosted paper.   It’s a nice texture to print from.   You can get them in the printer paper area or cheaper in scrap booking or paper craft area of any hobby or office store.

I placed pins to mask the general area for the fish patterns to go and used my inkjet printer to print directly on the sheets. You may have to place masking tape along the feed edge so the printer can see it. My printer is fussy with certain papers.   You can see it on the transfer paper when I lay it inkside down on the fabric after I coat the area with gloss, semi-gloss or matte medium, liquid or gel. I have used them all with similar results. Don’t over saturate, but use enough. Experiment on scrap fabric before you ever start an actual project you care about to see the various effects you get from each type of transfer medium and what you prefer.

After I place the transfer ink side down on the medium I burnish the back of the entire picture with a plastic utensil I have. Many use a bone folder you can get at crafting stores. Don’t press too hard, but hard enough to push all the ink into the fabric from the paper. I use vellum because it does not come apart from the medium like other papers can do.   It’s almost plastic like in texture.   You will see that if you have used too much medium, the colors will squish out all over and the picture will blur and not look as good. Again, experiment for a while first.

Once I think that the transfer has been complete, I carefully lift up the paper and let it dry for at least a day. I don’t rush my drying when I need it completely dry. After that I hand painted various corals, plants and sea horses.   I would have used a transfer for the seahorses as well but they were an after thought so I didn’t bother because I had already started some painting with acrylics. If you need to thin the paint you can use water or more medium depending on the thickness and intensity of color you wish to have.

Naturally I measured the panel and had all the edges finishes and sewed my rod pocket at the top to allow for the cafe rod, which is very small. Please see some of the finished pictures as well for an idea of how this looked from the outside of the window at night.

Daily Prompt: Overview of Some Crafts I Do


Please enjoy an over view of some of the various crafts I have fooled around with. I plan on doing a separate post with an over-view of fabric art projects.

I used to watch those Quilting Arts programs on PBS for years which gave me so many ideas to play with. Working in mixed media was making me such a pack rat because there are so many ways to repurpose items and just another way to recycle. Since I’ve temporarily moved to an apartment I had to downsize but decided to start selling more of my art or finished pieces because I created but then didn’t want to part with most of my creations unless they were gifts. I would rather make space for more things to create with than to keep holding on to that which is finished, done, over, unless I’m really in love with it.
God bless!

Po’ Girl Christmas

Sorry that I have been so lazy about posting anything of substance for a while now.  The very reason for this blog was to share things I have learned living on the cheap all of my life.

Christmas was great this year, had some family and friends over for Christmas Eve this year and went to one of my son’s homes on Christmas Day for “Dinner with the Cratchits” complete with plum pudding from England and some kind of “Hot Gin Punch a la Cratchit” which I blame for the enormous group hug before I left for the night.  I didn’t try any but brought some with me to try when I got home.  I never drink and drive.

Lighting of the Plum Pudding!

I lost one of my cousins a few days before Christmas this year.  I am posting a picture with her from Christmas of 1957.

From far left, Aunt Ruth, sister Gail, cousin Thelma, Bro Bryan, Me, cousin Brenda, Front Bros Bob & Don

Some of my family now live in the Upper Peninsula. My cousin Thelma passed this year after suffering for many years with Alzheimer’s and my sister Gail passed right after Christmas last year from esophageal cancer. Christmas 1957 was the last Christmas for my Aunt Ruth who passed approximately six months later from Colon Cancer.  Moral:  Enjoy every Christmas like it’s your last.

2014DecMiscChristmas 085

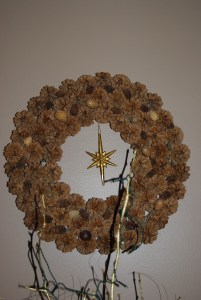
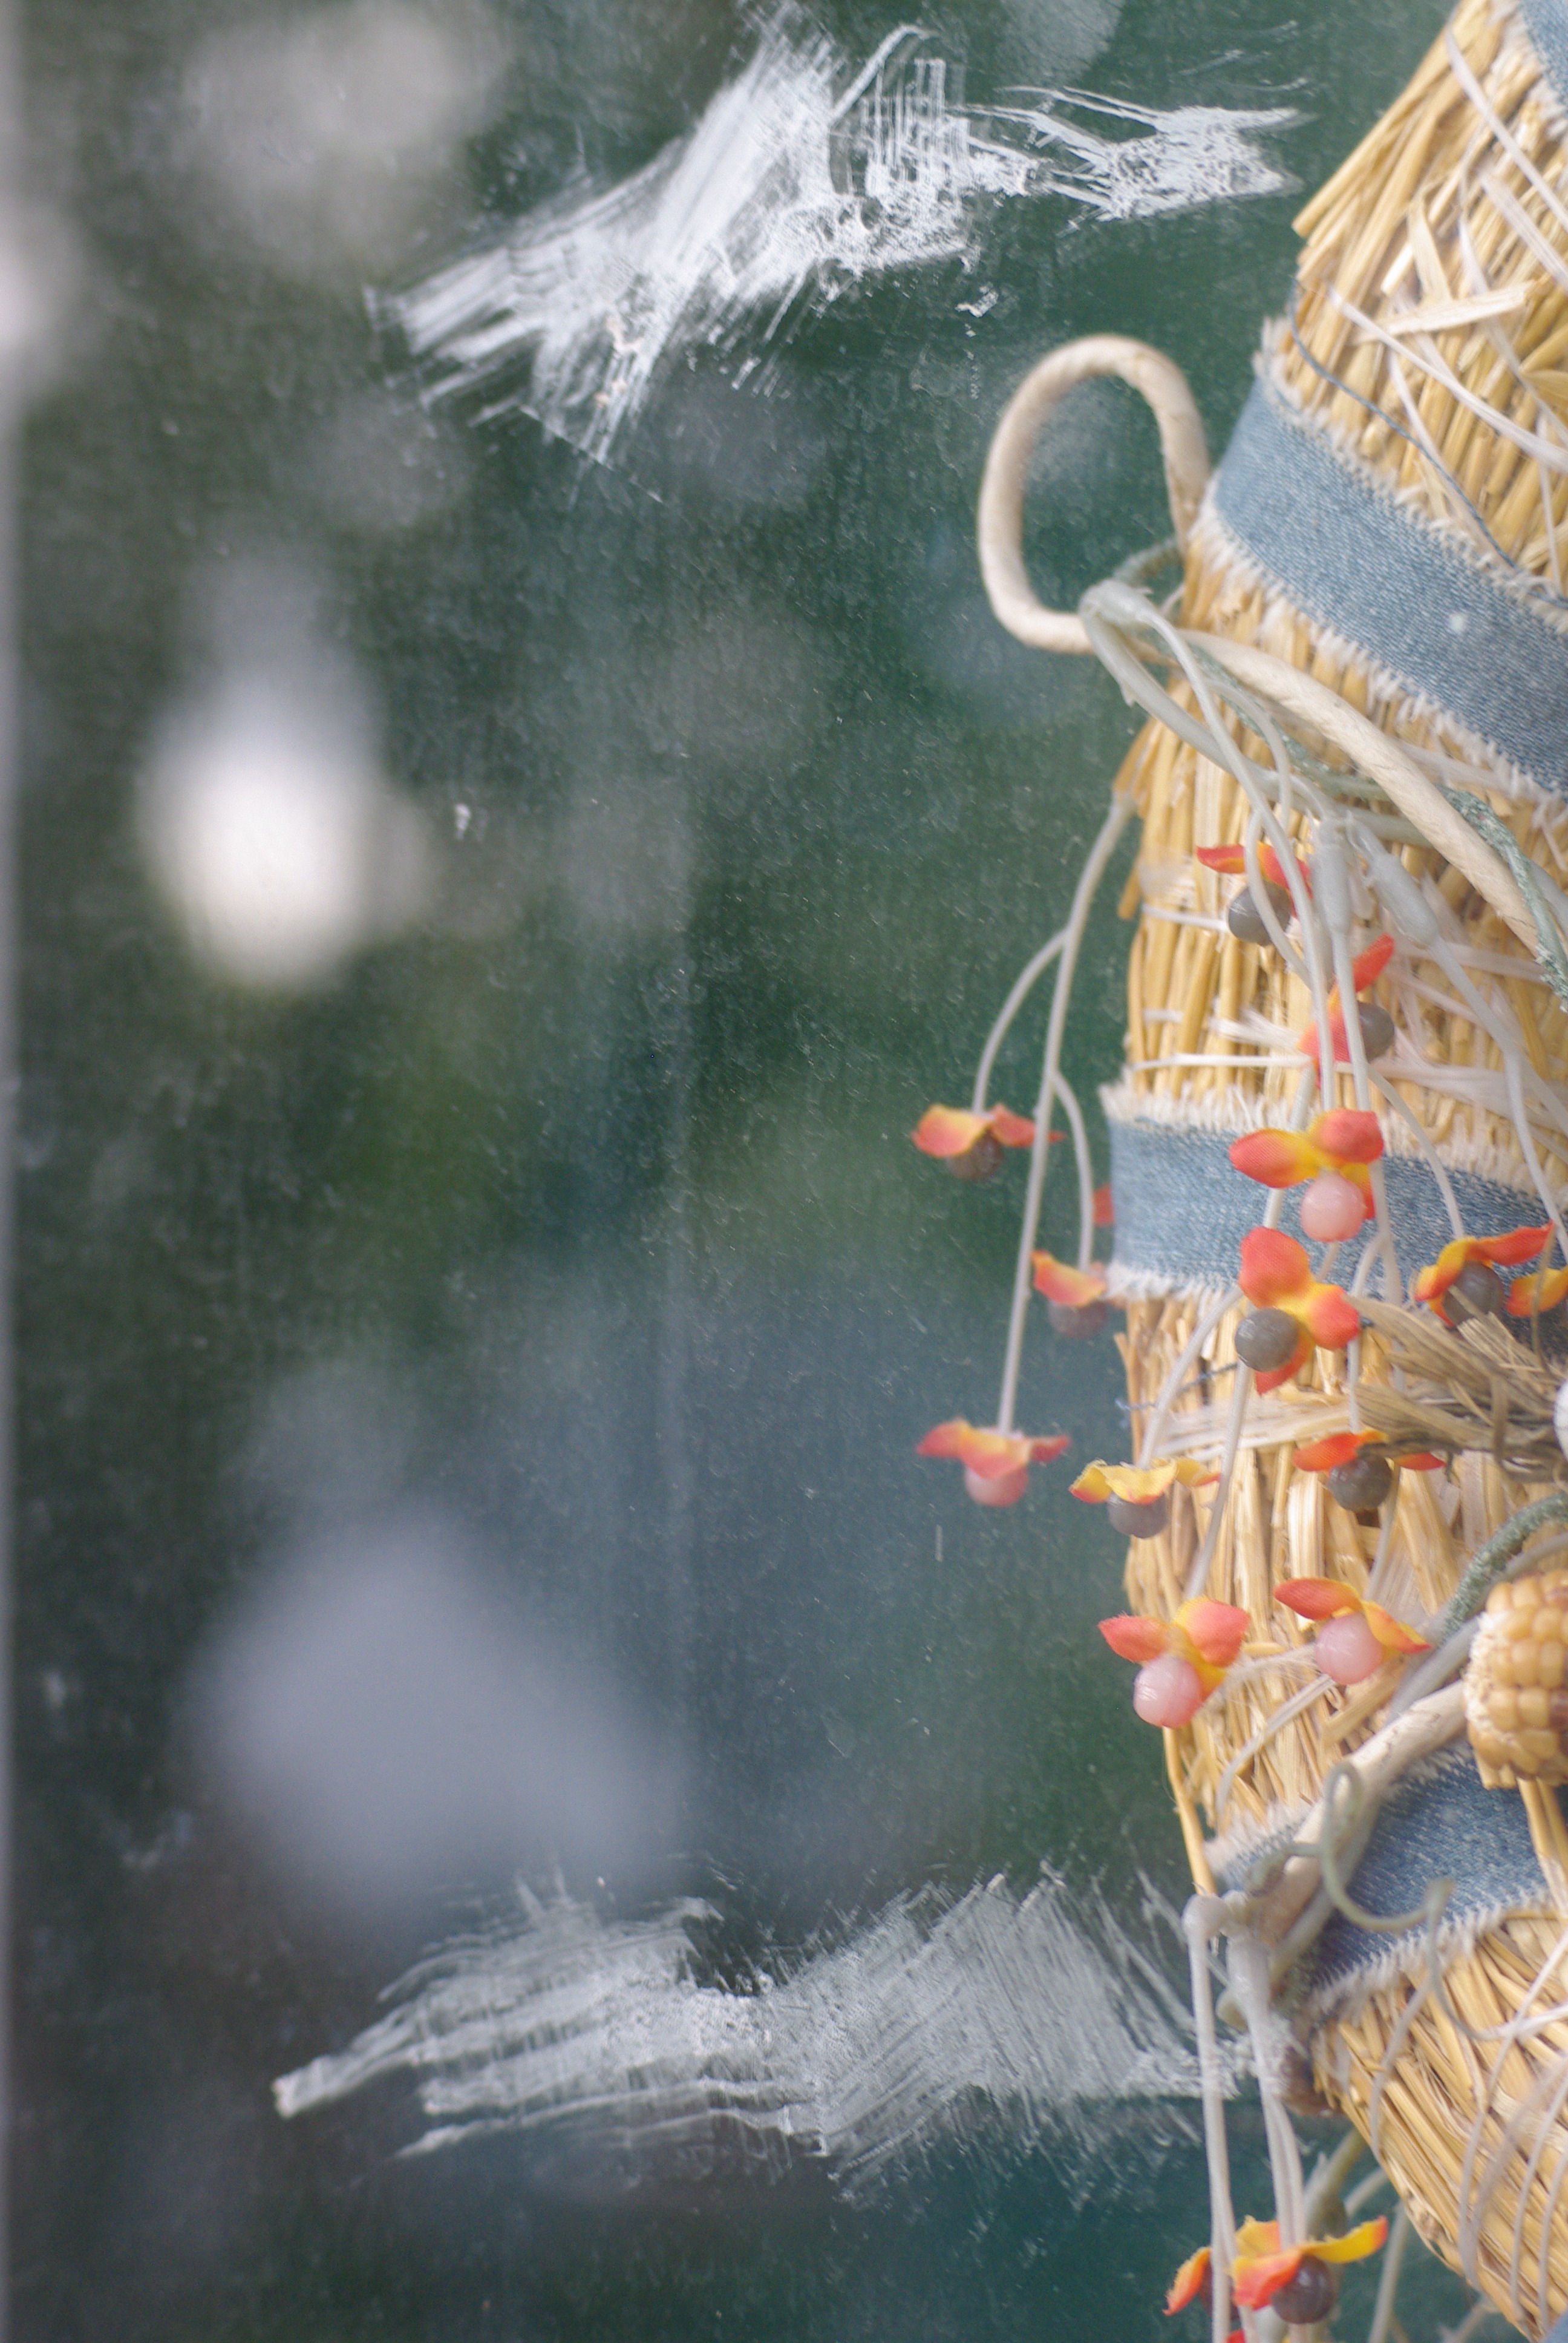
I saw this idea at a diner in Marshall Mi before the holidays. They had placed a loved ones picture in one of the wreaths to honor them and so I placed a picture of my sister to honor her because she always loved Christmas so much and this was our first Christmas without her.

This slideshow requires JavaScript.

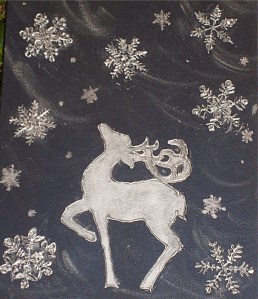
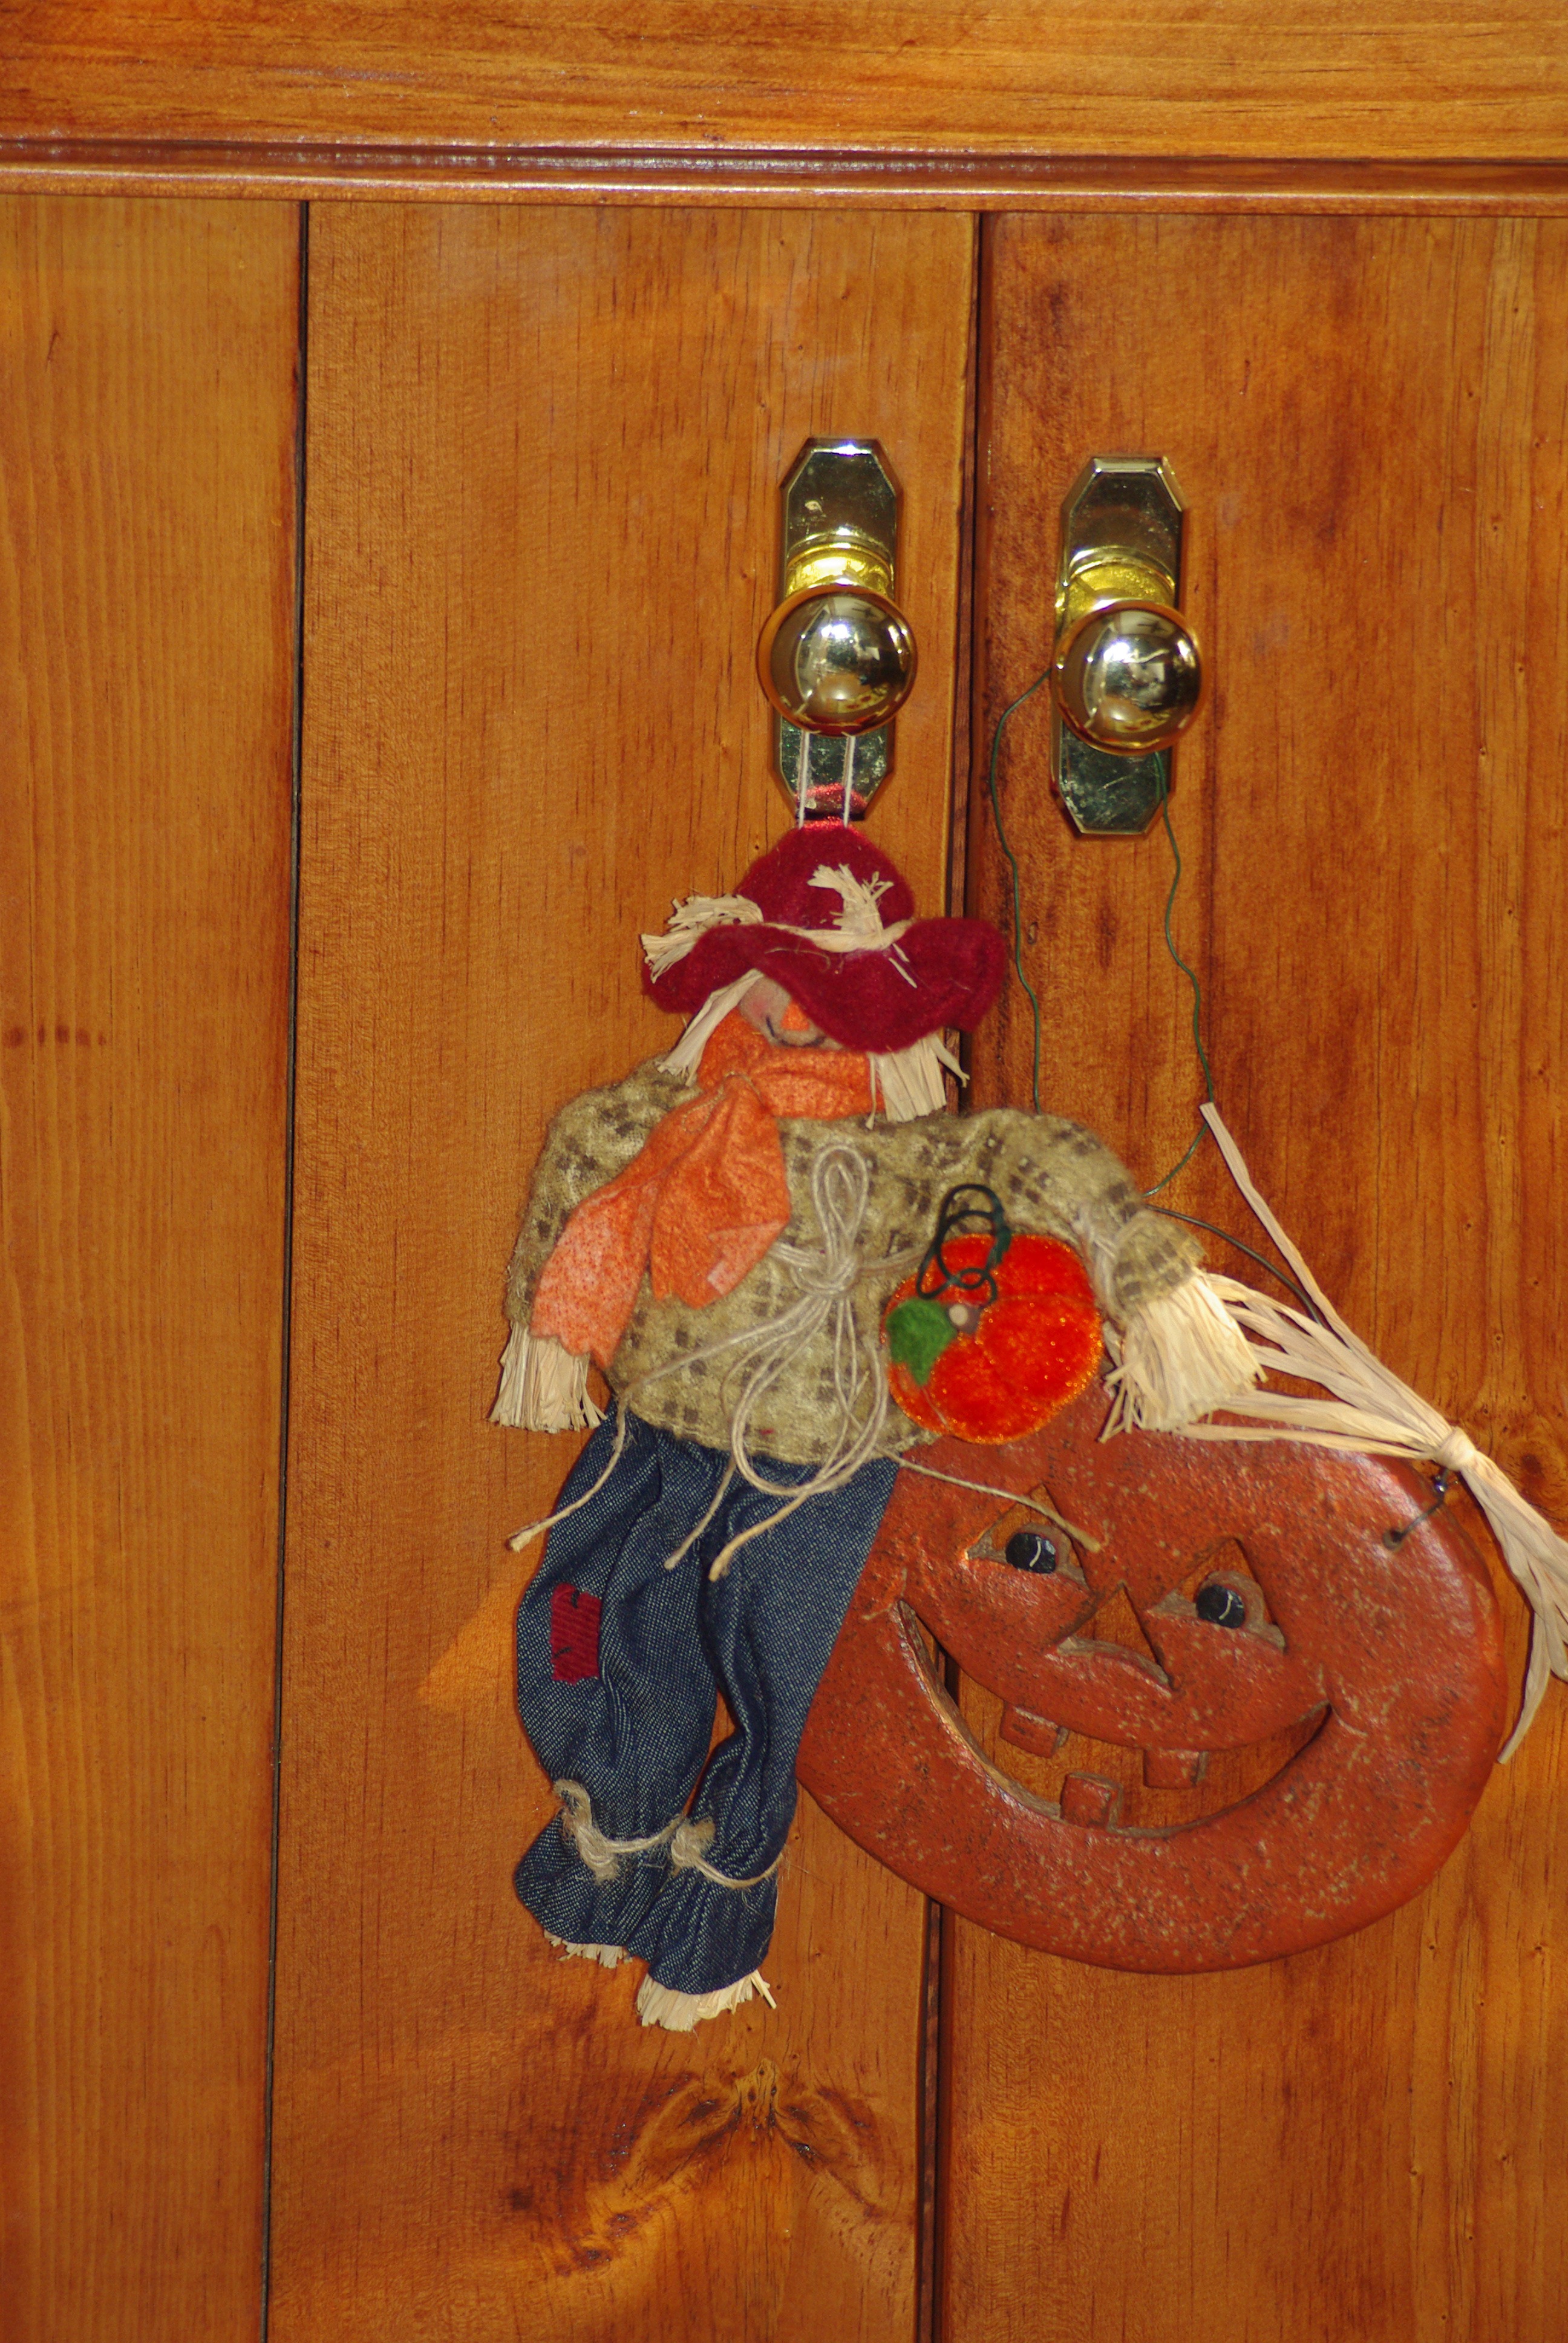
2014 Casa Po’ Girl Christmas décor.

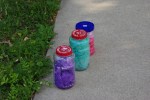
Wanted to add more to the usual lights and garland I place in my flower boxes each year so I found these gift boxes at the dollar store and inserted some wire to attach them.  The soil was not yet frozen, so this was possible.  The following is a little walk through of what I did to achieve this:

This slideshow requires JavaScript.

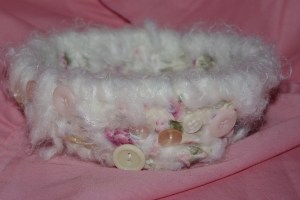
Finally broke down and made a Santa doll with the pattern I purchased many years ago.  Also used some of my odds & ends to make some “baby” crafts.

This slideshow requires JavaScript.

I will not post actual pictures of the parties out of respect for others privacy. A few shots of some of the cookies that I and others made this year. One of my sons went all out this year and for the first time made cookies. All kinds of them. I think the Ninja sugar cookies got him started, but we really loved the melt in your mouth eggnog cookies!  I have to say I have eaten so many of these I have actually felt very sick so that’s it for me.

This slideshow requires JavaScript.

Daily Prompt: If I Had a Hammer and I Do!

I would love to take some carpentry classes so I can finally build the dry sink I have had the plans for since the 1970’s.

I have owned a couple of homes in my life and we have redone wallpaper and layed floor tiles and carpet ourselves, my husband doing most of the work.  I have actually managed to change my plumbing fixtures and replaced a garbage disposal all on my own as well as other odd repair jobs through the years.

Approximately five years ago I was financially forced to tile my tub surround rather than pay the proposed $3000 to $4000 quoted to me by a reputable kitchen & bath company in my area.  I took a class from my local home depot and along with my previous floor tiling experience and one of their “how-to” DVDs, I was able to tear off the loose wall board and very slowly replace all the backer board (cement board).  I used WonderBoard Lite because they are in 3′ x 5′ sheets and regular cement boards were far too heavy for me to work with by myself.  Once they were installed, I proceeded to spread on tile adhesive, setting the tiles in place with spacers.  After I got used to placement using the spacers I no longer needed them.  Once it dried, I applied the grout with my trowel, sponging off the excess before it dried.  Once cleaned, the grout was allowed to cure for a few days before I placed a grout sealant that has really done it’s job over the years.  I dry the tub once used, but I have never had virtually no mold or mildew grow in all these years.

Thankfully I thought to take a few pictures.  If I would have taken more shots I would have put the instructions on instructables.com.  Please see the following slide show for an idea on how this project went.

This slideshow requires JavaScript.


Glue Gun Art

gluegunart2013DecemberArt 004

I was fooling around with a glue gun tracing the leaf transfers that I adhered on canvas with acrylic medium.  Canvas painted a very dark blue with the idea to manipulate pictures of leaves I had taken and scanned in the fall.

I thought about how the blowing leaves do not float down perfectly in the sky, but swirl and twirl all over the place before they land.  First using Microsoft PhotoDraw, Distort Effect Twirl and fine tuning or adjusting the setting or the amount of the twirl of the leaf I applied it to each leaf separately to create the desired effect.

I verified the size leaves needed for the canvas size of 16 x 20.  Wishing to show the effect of blowing leaves, but totally experimenting because I had not done these techniques before, I printed some of the leaves on regular printer paper, some on transfer paper and some on tracing paper just to see the finished look after fusing them to the canvas.  I carefully cut each leaf out and auditioned them around for a while until I was satisfied.  After the Liquitex Matte Medium dried thoroughly, I painted over each of the leaves with various shades of metallic harvest colors, enhancing the original color of the actual leaves.  The actual transfer paper had the most pronounced leaf veins show through the paint, followed by the ones I printed on high quality printer paper.  I actually preferred the effect that the tracing paper leaves had after painted.  The base is so thin that the canvas outline came through in spots giving it a more textured appearance, which I preferred.

Looked boring so I decided to jazz it up by outlining it with a glue gun, painting over the glue ridges with the same shades of metallic paint and once completely dried, used metallic rub in a lighter shade of gold over the leaves and some of the canvas leaving streaks, enhancing the idea of blowing wind.

It’s ok, still have a lot to learn, but practice makes perfect.  Please see the following slide show for more details.

This slideshow requires JavaScript.

The next gallery shows a few shots from some other collages I’m working on including one created for Christmas to reflect all the freaking snow we keep having this year!


Weekly Photo Challenge: Eerie

This slideshow requires JavaScript.

I like to fool around with adding animation to part of my photos like these by cutting and “filling” other pictures or color combos and then animating only part of the picture.  Gives eerie effects depending on light, shadows, color, etc.  Hope you get some ideas for your software.  I am happy to answer any questions as to how they were created as well as planning many “how-to” posts way overdue.

Weekly Photo Challenge: The Hue of You

The color of Autumn is my hue.  So much of my decorating uses it.
The color of Autumn is my hue. So much of my decorating uses it.
You can see part of my door wreath behind the glass with the glue stains from the city warning me about the leaf bags I left in front of my house.  Nazis!
You can see part of my door wreath behind the glass with the glue stains from the city warning me about the leaf bags I left in front of my house. Nazis!
Made arrangement with container from yard sale, silk flowers and branches from my yard.
Wacky clay pumpkin and scarecrow dangle from a hutch a friend of mine made.
Another view of hutch shows a pumpkin and part of my mixed media art using masks.
Fall decor used throughout my home.
Decorated a cheap glass plate with leaf transfers and silk leaves.  The background is yellow tissue paper.
Decorated a cheap glass plate with leaf transfers and silk leaves. The background is yellow tissue paper.
I love to hang garlands of leaves.
Beaded pumpkin for my dresser.
I purchased the two end pictures to go with the cross I painted years ago.  Makes a nice set.
I purchased the two end pictures to go with the cross I painted years ago. Makes a nice set.
Getting ready to bead using harvest colors and natural stones.

Weekly Photo Challenge: Good Morning!

I have been obsessively starting my days for the last few years with coffee.  I had quit all caffeine except that which was found in chocolate for many years because I didn’t need it.  I had always loved a good cup of coffee and when my son moved back home for a short time, he got me drinking it again.

Created my own coffee T-shirt a few months ago by transferring one of my coffee photos with the simple message “Coffee.” I printed the word coffee in Vladimir script in reverse so I could go over it with a transfer pen and iron on. I then went over the lettering with fabric markers.

GoodMorningCoffeeShirt 009